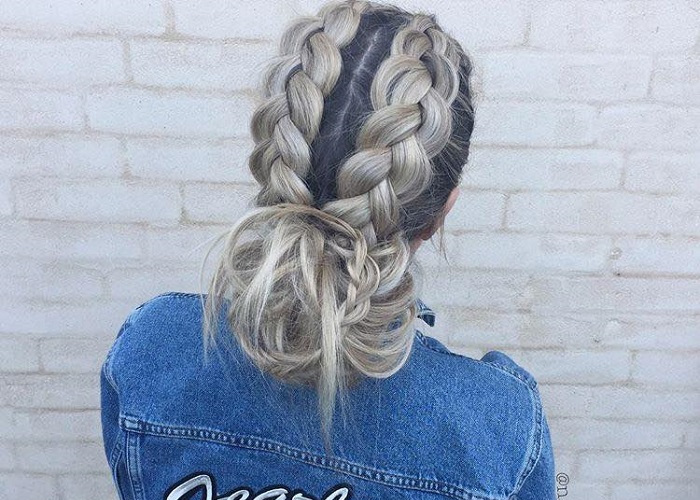
Read on for this step by step tutorial to creating your best single dutch braid.
STEP 1
Take a section of hair at the front of your head and split into three inch wide pieces ready for plaiting. The closer the section of hair is to your hairline, the higher up your plait will start.
TIP: If you’ve got super fine hair or you washed it recently, spritz some dry shampoo into the roots to give it more grip so it braids better.
STEP 2
Start to weave the pieces like a regular plait. But this time instead of plaiting the outside pieces of hair inwards, you want to pull the middle section out and over, swapping it with one of the side pieces, alternating either side as you go.
So it should go as follows: Middle piece swaps over the right, so the right piece sits in the middle. Then the middle piece swaps over the left, so the left piece sits in the middle.
STEP 3
Work your way towards the back of your head making sure you pull in hair from each side as you go. Each time the hair should feed in and add to the section being folded into the middle. So that the plait becomes bulkier as you go and starts to form one plait that sits on top of your head.
GOOD TO KNOW: If you’re already a pro at doing french plaits, then use the exact same method for this, but weave the hair out instead of in, so the plait sits on top of the hair.
STEP 4
Keep feeding in hair until you reach the nape of your neck. Then carry on with a regular plait to the ends of your hair and tie off with a small elastic.
TIP: Add bulk and texture to your braid by lightly pulling out each section. This technique is known as ‘pancaking’.